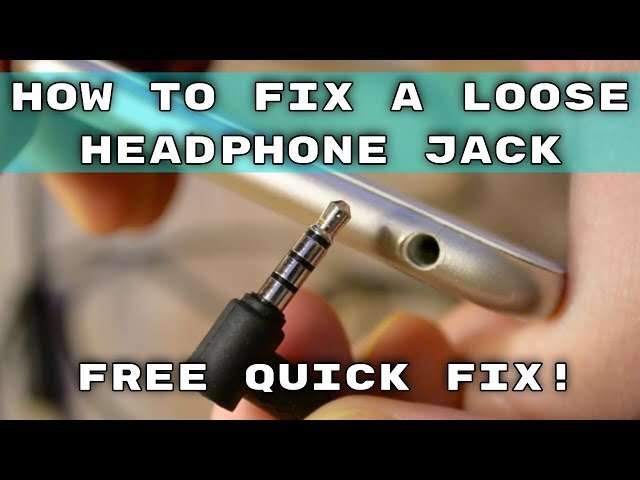
How To Fix Headphone Jack: Quick Fixes And Tips
Try cleaning the port, test with another pair, and replace the jack if mechanically damaged.
I’ve repaired dozens of devices and written guides for tech repair shops, so I know what works and what doesn’t when learning how to fix headphone jack problems. This article breaks the process into clear checks, safe DIY fixes, tools to use, and when to call a pro. Read on for practical, step-by-step help that saves time and money.

Why headphone jacks fail
Most headphone jack issues come from physical wear, dirt, or electronic faults. Jacks get bent, contacts wear out, and lint or corrosion blocks connections. Software or settings can also seem like hardware problems, so a quick check saves wasted effort. Knowing the cause helps you decide whether to clean, repair, or replace the jack.

Quick checks before repair
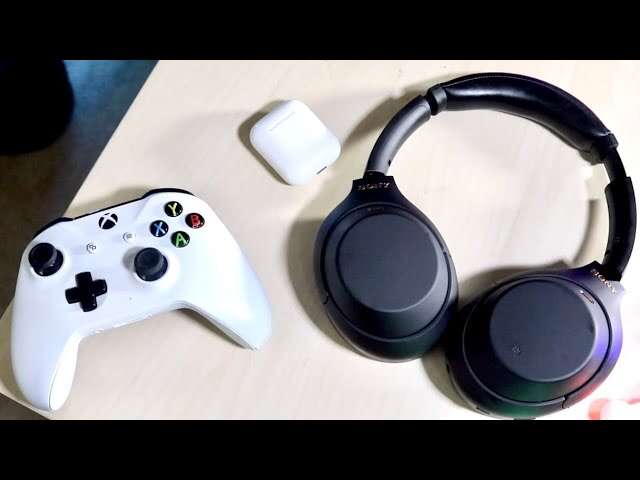
Start with simple checks to avoid unnecessary repair work. Test the headphones with another device to confirm the problem is the jack. Try a different pair of headphones with the same device to see if the issue repeats. Check device audio settings and Bluetooth to rule out software or wireless conflicts.
PAA-style questions
Why does my headphone audio cut in and out?
Audio drops usually come from a dirty or loose jack contact or a damaged plug. Clean the jack and test another headset to isolate the cause.
Can a phone software update break the headphone jack?
Updates rarely cause physical jack failures, but they can change audio routing. Check settings and reboot before assuming hardware damage.
Is it safe to use compressed air to clean a jack?
Yes, using short bursts of low-pressure compressed air can remove lint. Hold the device steady and avoid blasting liquid or high pressure.

Tools and parts you’ll need
Keep a small kit ready before attempting a repair. The right tools reduce risk and speed the job.
- Cotton swabs and isopropyl alcohol for cleaning contacts.
- Compressed air can for removing lint and dust.
- Small screwdrivers and plastic pry tools for opening devices.
- Soldering iron, solder, and desoldering braid for replacing internal jacks.
- Replacement 3.5mm jack or flex cable specific to your device model.
Always use ESD-safe tools if you open electronics. If you lack a soldering iron or model-specific parts, consider a professional repair shop.
Step-by-step fixes for common problems
Below are safe, ordered fixes. Start at the top and move to the next step only if the issue persists.
- Clean the jack
- Power off the device.
- Use compressed air to remove loose lint.
- Dampen a cotton swab with isopropyl alcohol and gently rotate inside the jack.
- Let it dry for a minute and test headphones.
- Check the plug and cable
- Inspect the headphone plug for dirt or bends.
- Wiggle the cable near the plug to detect intermittent breaks.
- Try another headset to confirm.
- Inspect software and settings
1. Turn off Bluetooth to force wired audio.- Check volume, balance, and any audio output settings.
- Reboot the device.
- Reseat or replace a detachable jack or adapter
- Some devices use modular ports or adapters. Remove and reseat them.
- Replace cheap adapters as they fail often.
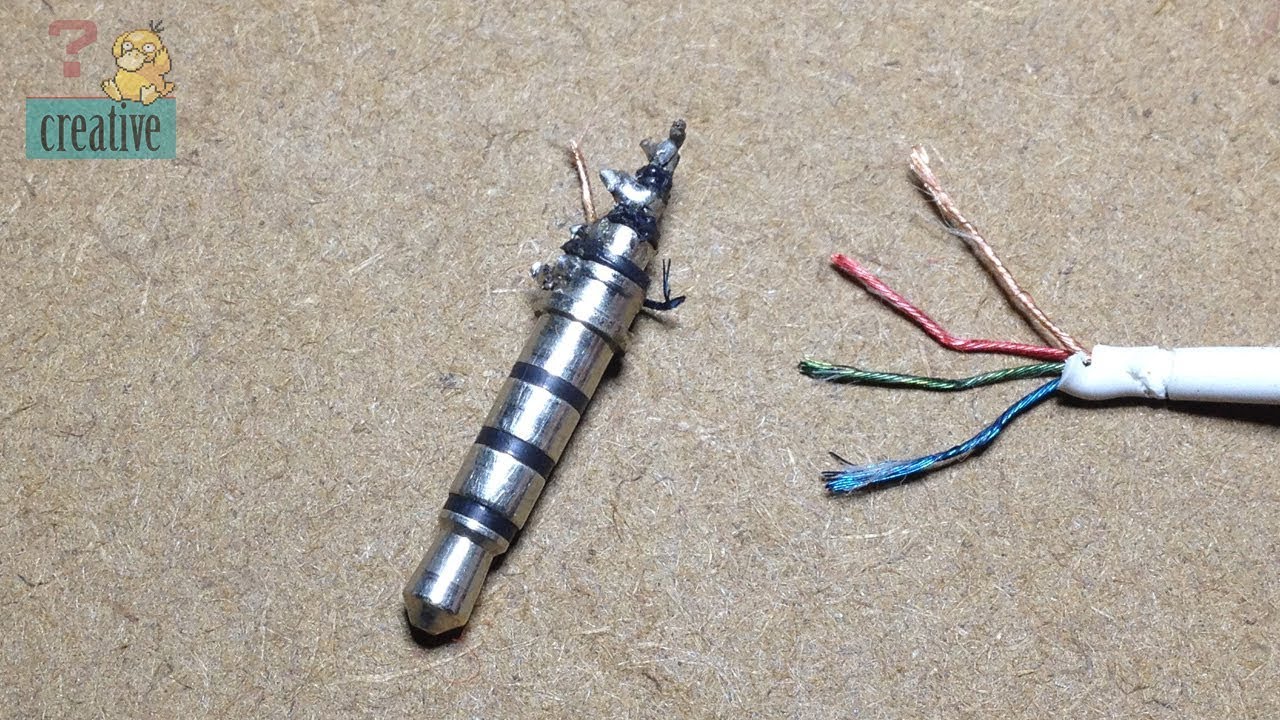
- Replace the internal jack (advanced)
- Power off and remove the battery if possible.
- Follow a device-specific guide to access the jack.
- Desolder the old jack and solder in a replacement part.
- Reassemble and test.
If at any point you feel unsure, stop and consult a professional. A bad solder joint or damaged flex cable can cause more harm.

Diagnosing elbow and mechanical problems
Mechanical failure is common with older devices. Signs include loose fit, only one channel working, or crackling when you move the plug. These issues often mean worn contacts or a bent jack sleeve. Diagnosis steps are simple and protect your device.
- Check if sound plays when plug is pushed fully in and if movement causes crackle.
- Inspect for visible bends or broken plastic around the port.
- Use a magnifier to see if contacts inside the jack are pushed inward.
If contacts are bent, cleaning may help temporarily. For long-term reliability, replacing the jack is usually best.

When to seek professional repair or replacement
Choose professional help when the repair needs advanced tools or risks your warranty. Seek a pro if:
- The device is under warranty or sealed.
- You need micro-soldering skills or a board-level fix.
- You cannot source a correct replacement jack for your model.
Professional repair is often cost-effective for high-value devices. For older, low-cost devices, replacing the device might be the smarter choice.

Personal experience and common mistakes to avoid
I once tried to fix a tablet jack without the right replacement part. I ended up ordering the correct flex cable after two failed attempts. From that job, I learned to always verify part numbers and use the right tools. Common mistakes include using metal tools that short circuits, skipping ESD precautions, and rushing reassembly.
Tips from my experience:
- Take photos as you disassemble. They help when you reassemble.
- Use low-heat soldering tips for small joints to avoid board damage.
- Keep screws organized by step to avoid losing or mixing them.
These small practices save hours and stop costly errors.
Tips to prevent future headphone jack problems
Simple habits prolong jack life and prevent future fixes.
- Use a case or port cover to keep dust out.
- Gently insert and remove plugs; hold the plug, not the cable.
- Avoid heavy strain on cables; use clips or cable ties.
- Clean the port periodically with compressed air.
Good habits reduce the need to learn how to fix headphone jack issues again.

Frequently Asked Questions of how to fix headphone jack
Why do headphone jacks stop working after falling?
Physical shocks can bend internal contacts or dislodge solder joints. Inspect for visible damage and test audio with another headset.
How long does a headphone jack last?
Lifespan varies by use, but normal jacks often last several years. Heavy daily use shortens life due to wear and mechanical stress.
Can I replace a headphone jack at home?
Yes, if you have basic tools and a correct replacement part, you can replace it. Micro-soldering skills help for built-in jacks.
Will cleaning the jack fix all issues?
Cleaning fixes many dirt or lint-related problems, but it won’t repair bent contacts or broken internal wiring. Try cleaning first, then deeper fixes.
Is wireless audio a good fix for a bad jack?
Wireless headphones avoid jack problems and are a simple workaround. They add convenience but require charging and may introduce latency.
Conclusion
Most headphone jack problems start with simple causes like dirt or loose plugs and can be fixed with quick checks, cleaning, or a part swap. If the issue is mechanical or board-level, professional repair often makes sense. Use the step-by-step checks here, follow safety tips, and save time by stopping when a problem is beyond your tools or skill. Try the easy fixes first, and if you found this guide useful, leave a comment or subscribe for more practical repair tips.